Basic Roll Forming Design
- Home
- Basic Roll Forming Design
The basics of roll form tooling design
we want to teach you something that none of the companies in the world ever teach you!
we want to step by step teach you how to design a forming machine. each new tooling requirement in a roll form design, take the following five steps:
1. Develop a cross-sectional drawing.
2. Calculate the estimated strip width.
3. Produce a bend progression, or “flower” pattern
4. Layout and design the roll tooling around the flower.
5. Incorporate tooling accessories
Roll Forming Design Guide
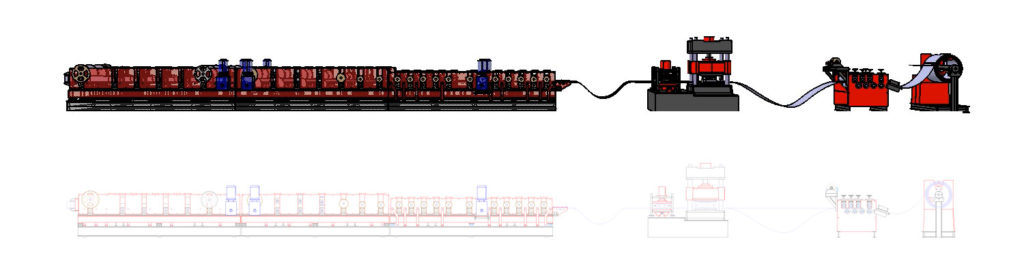
Before delving into the design of roll-forming rollers, it is essential to understand the basics of roll form design. Roll forming is a continuous process that involves feeding a metal sheet through a series of rollers. Each roller in the series gradually bends and shapes the metal into the desired form. The final shape is achieved by the cumulative effect of the rollers.
At Roll Forming Design Guide, we specialize in delivering high-quality, innovative solutions for the roll forming industry. Whether you’re a manufacturer looking to optimize your production processes or an engineer seeking advanced design tools, we provide the expertise and resources you need to excel.
Develop a cross sectional drawing
The roll forming design process begins with a cross-sectional drawing. that serves as a kind of blueprint of what your profile’s shape and dimensions should be. On the drawing, you should note each bend’s radius and arc length, straight lengths, and material thicknesses.

Calculate the estimated strip width
for calculating the strip width of the profile you should Use the proper “K” factor or “Bend Allowance” which is the main item.
Various factors contribute to the bend allowance, such as material type, material yield strength, profile characteristics, and roll design techniques.
Step 3: Produce a Bend Progression, or “Flower” Pattern
With the strip width calculated, you can now create a bend progression, often called a “flower” pattern. This pattern visually represents each stage of the bending process, showing how the flat strip of material will be gradually shaped into the desired cross-section. The flower pattern is essential for planning the roll tooling and ensuring a smooth, consistent forming process.
Step 4: Layout and Design the Roll Tooling Around the Flower
After finalizing the flower pattern, it’s time to layout and design the roll tooling. This involves creating detailed drawings of the rolls themselves, specifying the shape, size, and positioning of each roll to match the stages of the flower pattern. Precision is key here, as the rolls must work together in perfect harmony to form the material correctly without causing defects or unnecessary stress.
Step 5: Incorporate Tooling Accessories
The final step in roll form tooling design is incorporating any necessary accessories. These may include side rolls, edge guides, or special cutting or punching tools integrated into the roll forming line. These accessories are essential for achieving the
FAQ :
1-What are the key factors considered in roll forming design?
Key factors include material type and thickness, desired profile geometry, machine capabilities, tooling configuration, production speed, and end-use requirements.
2-How do material properties affect roll forming design?
Material properties such as tensile strength, elasticity, and thickness influence springback, bending behavior, and the number of forming stands required. Correctly accounting for these properties ensures high-quality finished products.
3-Can basic roll forming design be customized?
Yes. Roll forming designs can be tailored to produce specific profiles for different industries, including construction, automotive, and solar structures. Custom design ensures optimal performance and precision.
4-What role does tooling play in roll forming design?
Tooling is critical in roll forming design. The shape, size, and arrangement of rolls determine how the metal is formed, influencing the final profile accuracy, surface finish, and production efficiency.